Silicone sealant is a versatile and durable material commonly used to seal joints and gaps in bathrooms, kitchens, and other areas prone to moisture. While it provides excellent waterproofing and flexibility, there comes a time when you may need to remove and replace it due to wear, discoloration, or damage. If you’re faced with the task of removing silicone sealant, fear not! In this guide, we’ll walk you through the process step-by-step to ensure a smooth and successful removal.
Step 1: Gather Your Supplies
Before you begin, gather the necessary supplies to make the removal process easier and more efficient:
Silicone sealant remover
Razor blade or utility knife
Putty knife or scraper
Cleaning solution (mild detergent or vinegar)
Old rag or cloth
Gloves (to protect your hands)
Safety goggles (to protect your eyes)
Step 2: Prepare the Area
Before removing the silicone sealant, ensure the area is clean and dry. This will make it easier to work with and prevent any damage to surrounding surfaces. Additionally, consider ventilating the area to minimize exposure to fumes from the sealant remover.
Step 3: Soften the Sealant
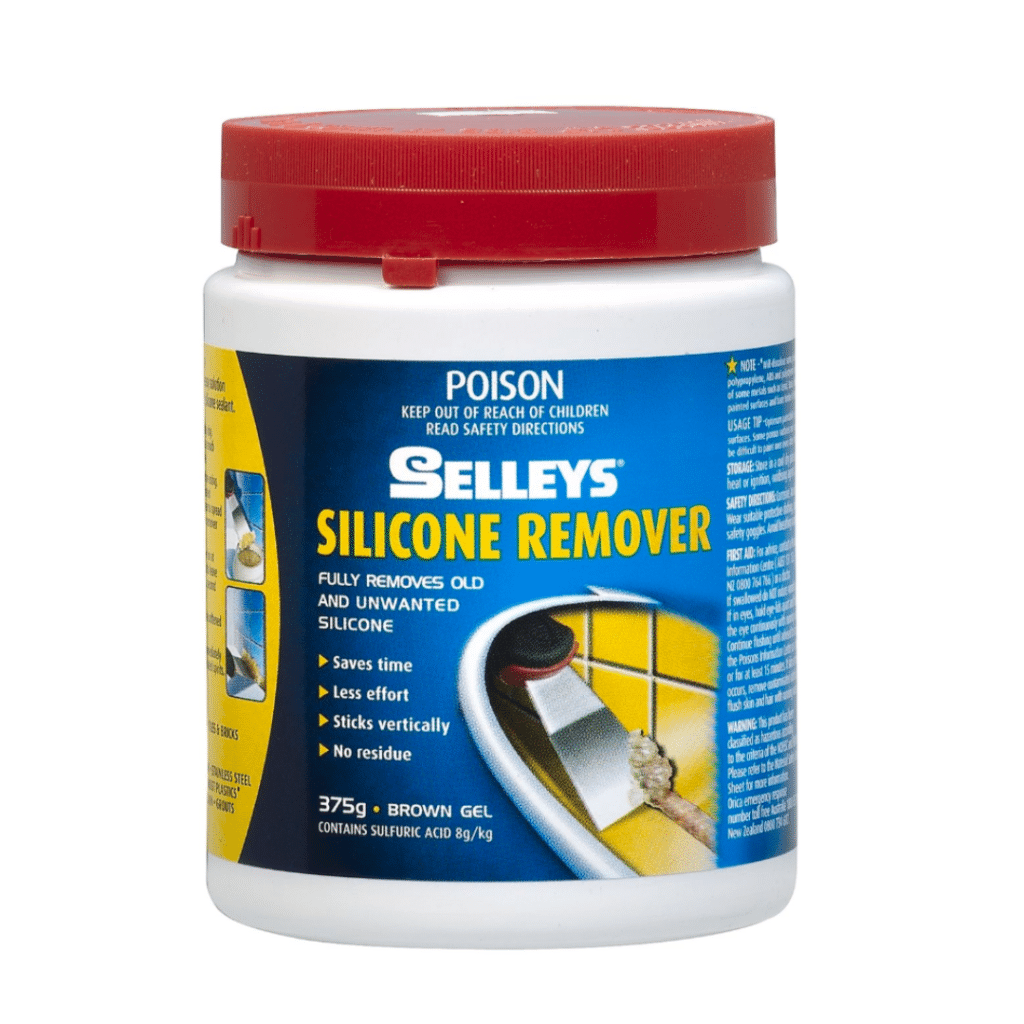
Apply a silicone sealant remover to the old sealant according to the manufacturer’s instructions. This product helps soften and loosen the sealant, making it easier to remove. Allow the remover to penetrate for the specified time, typically around 30 minutes to an hour, depending on the product.
Source: Bunnings Warehouse
Step 4: Remove the Sealant
Once the sealant has been softened, carefully use a razor blade or utility knife to slice through the sealant along the joint or edge. Take care not to damage the surrounding surfaces. Next, use a putty knife or scraper to gently pry and lift the softened sealant away from the surface. Work slowly and patiently, repeating the process until all the sealant has been removed.
Step 5: Clean the Surface
After removing the sealant, clean the surface thoroughly to remove any remaining residue, dirt, or adhesive. Use a cleaning solution such as mild detergent or vinegar diluted in water and scrub the surface with an old rag or cloth. Rinse the area with clean water and allow it to dry completely before proceeding.
Step 6: Final Touches
Once the surface is clean and dry, inspect it for any remaining bits of sealant or residue. Use a razor blade or fine-grit sandpaper to gently remove any stubborn remnants. Wipe the area clean with a damp cloth to ensure a smooth and tidy finish.
Step 7: Dispose of Sealant Properly
Dispose of the removed silicone sealant and any used materials properly according to local regulations. Some sealant removers and residues may be hazardous, so it’s essential to handle and dispose of them safely.
Step 8: Consider Re-application
If you removed the sealant to address issues such as leaks or damage, consider reapplying new silicone sealant to the area once it’s clean and dry. Follow the manufacturer’s instructions for proper application and allow the sealant to cure fully before exposing it to moisture.
By following these steps, you can effectively remove silicone sealant from various surfaces, ensuring a clean and smooth finish. Whether you’re preparing for reapplication or simply refreshing the look of your space, mastering the art of sealant removal is a valuable skill for any DIY enthusiast. So roll up your sleeves, gather your supplies, and tackle that stubborn sealant with confidence!